 English

Atiming belt linear moduleis widely used in industrial automation systems that require high travel speed, long stroke, rapid acceleration and frequent reciprocating motion. Although the mechanical structure is relatively simple, regular maintenance is still essential for maintaining positioning stability, reducing unexpected downtime and extending the service life of the belt, pulleys, guide rails, bearings and sensors.
Improper maintenance may cause belt slippage, abnormal noise, excessive vibration, positioning errors, uneven carriage movement or premature component wear. In severe cases, a loose or damaged timing belt may interrupt production or cause the carriage to lose synchronization with the motor.
Thistiming belt linear module maintenance guideexplains how to inspect the timing belt, check belt tension, clean the guide system, lubricate moving components, inspect fasteners and sensors, and establish a practical preventive maintenance schedule.
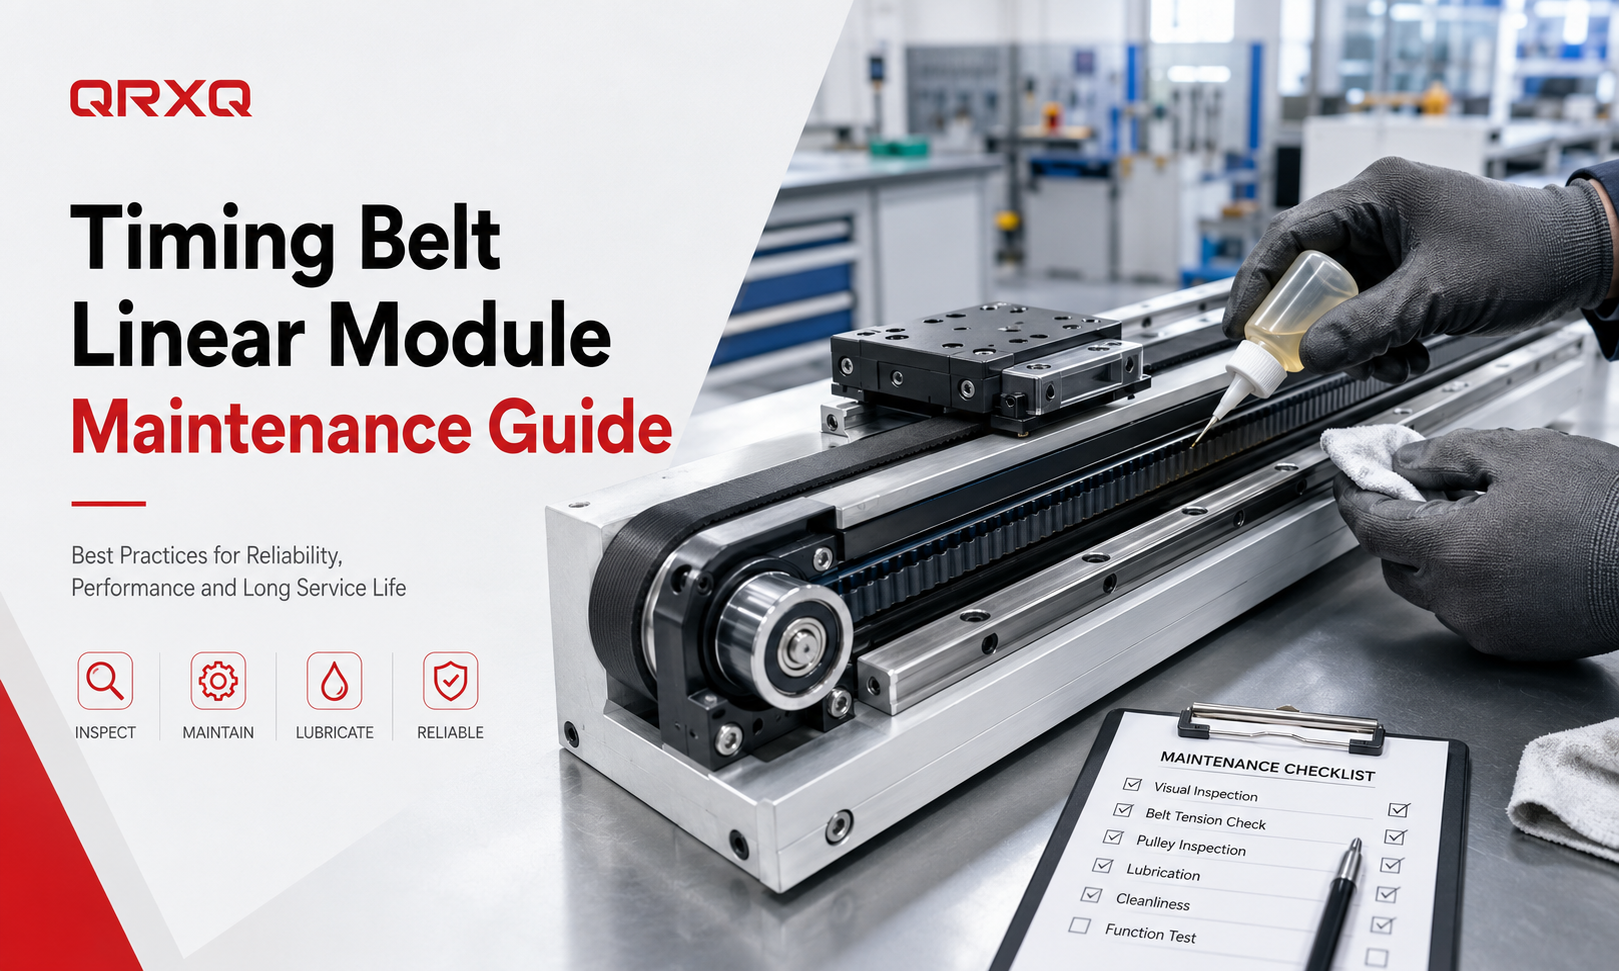
Why Timing Belt Linear Module Maintenance Is Important
During operation, a timing beltlinear moduleis continuously affected by acceleration, deceleration, load changes, vibration, dust and environmental contamination. These factors gradually influence the condition of the transmission and guide components.
Regular maintenance helps prevent the following problems:
- Timing belt elongation, cracking or tooth wear
- Belt slippage and unstable positioning
- Excessive belt tension and bearing overload
- Pulley tooth wear or pulley misalignment
- Guide rail contamination and increased friction
- Insufficient lubrication of guide blocks and bearings
- Loose mounting bolts and mechanical vibration
- Sensor displacement or unreliable limit detection
- Unexpected production downtime
A preventive maintenance program allows technicians to identify minor changes before they become serious mechanical failures.
Safety Preparations Before Maintenance
Before inspecting or servicing a timing belt linear module, stop the machine and isolate all energy sources. Maintenance should never be performed while the axis is moving or while the motor remains enabled.
Recommended safety preparations include:
- Stop the automatic production cycle.
- Move the carriage to a safe maintenance position.
- Switch off the servo or stepper motor power supply.
- Apply lockout and tagout procedures when required.
- Release suspended loads on vertically installed modules.
- Wait for moving components to stop completely.
- Use appropriate personal protective equipment.
For vertically installed axes, the carriage or external load should be mechanically supported before loosening the belt, motor, brake or transmission components.
Daily Inspection of a Timing Belt Linear Module
A basic visual and operational inspection should be performed before or during each production shift. Daily inspection does not normally require disassembly and can help detect early signs of abnormal operation.
Observe the Motion of the Carriage
Run the module at a safe inspection speed and observe the complete stroke. The carriage should move smoothly without hesitation, sudden changes in speed or irregular vibration.
Check for:
- Jerking during acceleration or deceleration
- Uneven motion at certain positions
- Unexpected movement resistance
- Excessive carriage vibration
- Changes in stopping position
Irregular movement may indicate incorrect belt tension, guide contamination, loose fasteners, pulley misalignment or an unsuitable motion-control setting.
Listen for Abnormal Noise
Atiming belt modulenormally produces a consistent operating sound. New squeaking, knocking, rubbing or clicking noises should be investigated.
Common noise sources include:
- A loose timing belt contacting the module housing
- An overtightened belt increasing bearing load
- Foreign particles inside the belt channel
- Damaged pulley teeth
- Dry guide blocks or bearings
- Loose motor couplings or mounting bolts
Check the Work Area
Remove tools, screws, metal chips, packaging debris and other objects from the motion path. Make sure the cable carrier, air tubes and electrical wires move freely without rubbing against the module.
Timing Belt Condition Inspection
The timing belt is the main transmission component of the module and should be inspected regularly. Open the protective cover according to the equipment instructions and examine the accessible belt surfaces.
Check the Belt Surface
Look for visible damage such as:
- Cracks on the belt backing
- Frayed or damaged belt edges
- Missing or deformed belt teeth
- Exposed tension cords
- Surface glazing or hardening
- Oil, grease or chemical contamination
- Uneven wear across the belt width
Minor surface marks may not immediately affect operation, but cracks, missing teeth, exposed reinforcement cords or severe edge wear usually indicate that the belt should be replaced.
Inspect Belt Edge Tracking
The belt should run centrally across the drive and idler pulleys. If it continuously moves toward one side, inspect the pulley alignment, shaft alignment and belt installation.
Continuous side tracking may damage the belt edges and cause premature failure. It can also indicate that the motor, pulley shaft or tensioning assembly is not correctly aligned.
Keep the Belt Free From Lubricants
Do not apply grease or oil to the timing belt unless the belt manufacturer specifically permits it. Most industrial timing belts are designed to operate dry.
Oil contamination may reduce friction, soften certain belt materials, attract dust and interfere with the engagement between the belt teeth and pulley grooves.
How to Check Timing Belt Tension
Correct belt tension is essential for stable motion. A belt that is too loose may slip, vibrate or produce positioning errors. A belt that is too tight may overload the pulley bearings, motor shaft and belt reinforcement cords.
Symptoms of Low Belt Tension
- Belt vibration during rapid acceleration
- Delayed carriage response
- Reduced repeatability
- Tooth jumping under heavy load
- Impact noise during direction changes
- Visible belt sag
Symptoms of Excessive Belt Tension
- High motor load or motor current
- Increased operating noise
- Excessive bearing temperature
- Rapid pulley or bearing wear
- Premature belt fatigue
- Increased resistance during manual movement
Belt Tension Inspection Methods
Depending on the module design, belt tension may be checked by measuring belt deflection, belt vibration frequency or the position of the tensioning mechanism.
Common methods include:
- Deflection method:Apply a specified force to the belt span and measure the resulting displacement.
- Frequency method:Pluck the free belt span and measure its natural vibration frequency with a belt tension meter.
- Tension indicator method:Check the position of the integrated mechanical tension indicator.
- Manufacturer reference method:Compare the tensioning screw position or spring compression with the original assembly specification.
Because acceptable tension depends on the belt width, belt type, pulley diameter, unsupported span and application load, always use the tension value specified by the module or belt manufacturer.
Basic Belt Tension Adjustment Procedure
- Switch off the equipment and secure the moving carriage.
- Remove the protective cover if necessary.
- Loosen the tensioning assembly locking bolts.
- Adjust both sides evenly to maintain pulley alignment.
- Measure the belt tension using the specified method.
- Tighten the locking bolts to the required torque.
- Manually move the carriage through the full stroke.
- Reinstall the protective cover.
- Run the module at low speed and observe belt tracking.
- Verify positioning repeatability before returning to production.
Do not adjust belt tension only by sound or hand feeling when accurate tension data and measurement tools are available.
Pulley Inspection and Maintenance
The drive pulley and idler pulley transfer motor torque to the timing belt. Their condition directly affects belt tracking, transmission efficiency and positioning stability.
Inspect Pulley Teeth
Check the pulley grooves for wear, dents, contamination or damaged teeth. Debris trapped in the grooves may prevent the belt teeth from fully engaging with the pulley.
Clean the pulley carefully with a soft brush or lint-free cloth. Avoid using sharp metal tools that may damage the pulley tooth profile.
Check Pulley Alignment
The drive and idler pulleys should be parallel and correctly positioned. Misaligned pulleys may cause:
- Uneven belt edge wear
- Belt tracking to one side
- Abnormal vibration
- Increased operating noise
- Reduced belt service life
Check Pulley Fasteners
Inspect pulley locking screws, shaft collars, keys and clamping elements. Loose pulley connections may create backlash between the motor and carriage even when the timing belt is in good condition.
Inspect Pulley Bearings
Rotate the pulley manually when the module is safely powered off. The pulley should rotate smoothly without roughness, excessive clearance or abnormal noise.
A damaged bearing may increase belt tension, motor load and operating temperature. Replace worn bearings before they damage the pulley shaft or timing belt.
Guide Rail Cleaning
The linear guide supports the carriage load and maintains straight, stable motion. Dust, metal particles, adhesive residue and other contaminants can enter the guide area and increase friction.
Recommended Cleaning Procedure
- Move the carriage to expose an accessible section of the guide rail.
- Remove loose particles with a soft brush or low-pressure dry air.
- Wipe the rail using a clean, lint-free cloth.
- Use a compatible cleaning agent when necessary.
- Move the carriage and clean the remaining rail sections.
- Apply the specified lubricant after cleaning if required.
Do not direct high-pressure compressed air toward guide seals, bearings or internal belt channels. High-pressure air may push contamination deeper into the module.
Inspect Guide Rail Condition
During cleaning, inspect the guide rail for:
- Rust or corrosion
- Scratches and dents
- Discoloration caused by overheating
- Uneven wear marks
- Loose rail mounting screws
- Damaged guide block seals
Visible damage on the guide rail should be evaluated before continued operation, especially in high-precision or heavy-load applications.
Lubrication of the Guide System
The timing belt normally operates without lubrication, but the linear guide, bearings and other rolling components may require periodic lubrication.
Select the Correct Lubricant
Use the grease or oil specified by the module manufacturer. Lubricants should be compatible with the guide system, operating temperature, speed, load and environmental conditions.
Using an unsuitable lubricant may cause increased friction, seal damage, grease separation or contamination of nearby components.
Lubrication Procedure
- Clean the lubrication fitting and surrounding area.
- Use the recommended grease gun or lubrication tool.
- Apply the specified quantity slowly.
- Move the carriage through the full stroke several times.
- Remove excess lubricant from exposed surfaces.
- Check that lubricant does not contact the timing belt.
Over-lubrication should be avoided. Excessive grease may increase movement resistance, attract contamination and leak into the belt transmission area.
Factors Affecting Lubrication Frequency
Lubrication intervals should be shortened when the module operates under:
- High speed or high acceleration
- Heavy or offset loads
- Continuous production cycles
- High temperatures
- Dusty or contaminated environments
- Frequent short-stroke movement
- Washdown or high-humidity conditions
Fastener Inspection
Repeated acceleration and machine vibration may gradually loosen mechanical fasteners. Loose bolts can affect module alignment, increase noise and reduce positioning accuracy.
Inspect the following points:
- Module base mounting bolts
- Carriage mounting bolts
- Motor mounting screws
- Pulley locking screws
- Tensioning assembly bolts
- Guide rail mounting screws
- Sensor brackets
- Cable carrier mounting points
- Protective cover screws
Tighten fasteners according to the specified torque values. Excessive tightening may damage aluminum profiles, threads, guide rails or mounting surfaces.
Sensor Inspection and Adjustment
Timing belt modules commonly use origin sensors, limit sensors and overtravel sensors. Incorrect sensor positions may cause homing errors, travel interruptions or collisions.
Check Sensor Position
Confirm that each sensor bracket is secure and that the detection target passes through the correct sensing area. The sensor should activate before the carriage reaches a mechanical end stop.
Inspect Sensor Cables
Check cables for:
- Cracks or damaged insulation
- Loose connectors
- Excessive bending
- Rubbing against moving components
- Insufficient cable carrier space
- Oil or chemical contamination
Test Sensor Operation
Use the controller input display or sensor indicator light to confirm reliable switching. Test the origin and limit functions at low speed after any sensor adjustment.
Motor and Drive System Inspection
Although the motor and controller are not part of the timing belt itself, their condition can affect module performance.
Inspect the following:
- Motor mounting rigidity
- Motor shaft and pulley connection
- Motor temperature
- Brake operation on vertical axes
- Servo alarm history
- Encoder cable condition
- Abnormal motor vibration
- Changes in motor current or torque
An increase in motor current may indicate excessive belt tension, guide contamination, bearing damage, mechanical interference or an overloaded carriage.
Cable Carrier and Hose Inspection
Long-stroke timing belt modules often use cable carriers to guide motor cables, sensor wires, pneumatic tubes and process hoses.
Inspect the cable management system for:
- Broken or damaged cable carrier links
- Twisted cables
- Insufficient bending radius
- Cables packed too tightly
- Hoses rubbing against sharp edges
- Loose cable carrier brackets
- Uneven movement during the full stroke
Cables should have enough space to move without excessive tension, but they should not be so loose that they become trapped or contact nearby machinery.
Preventive Maintenance Schedule
The correct maintenance interval depends on the operating speed, load, duty cycle, stroke, installation direction and environmental conditions. The following schedule can be used as a general starting point and should be adjusted according to actual operating conditions.
| Maintenance Interval | Recommended Inspection Items |
|---|---|
| Daily or Before Each Shift | Check motion smoothness, abnormal noise, vibration, work area cleanliness, cables and visible belt condition. |
| Weekly | Inspect belt tracking, protective covers, sensor operation, cable carrier movement and accessible fasteners. |
| Monthly | Check belt tension, pulley condition, guide rail cleanliness, motor mounting and carriage mounting bolts. |
| Every 3 to 6 Months | Clean the guide system thoroughly, lubricate guide blocks as specified, inspect pulley bearings and verify positioning repeatability. |
| Every 6 to 12 Months | Perform a complete mechanical inspection, check belt wear, pulley alignment, fastener torque, sensor positions and motor load trends. |
| After a Collision or Overload | Stop operation immediately and inspect the belt, carriage, guide rail, pulleys, motor connection, sensors and mounting alignment. |
Modules operating continuously, at high acceleration or in dusty environments may require much shorter inspection and lubrication intervals.
Maintenance Requirements for Different Operating Environments
Dusty Environments
Dust can collect on the guide rail, belt and pulley grooves. Use protective covers or bellows where appropriate and increase the cleaning frequency.
Cleanroom Applications
Use cleanroom-compatible lubricants and low-particle materials. Avoid applying excessive grease, and inspect seals and protective covers carefully.
High-Humidity Environments
Inspect exposed steel components for corrosion. Use corrosion-resistant materials, suitable coatings and compatible lubricants.
High-Temperature Environments
High temperatures may reduce belt life and change lubricant viscosity. Confirm that the belt, grease, sensors and cables are rated for the actual operating temperature.
Vertical Installation
Vertical modules require special attention to motor brakes, load support and belt condition. The moving load should be secured before maintenance because the carriage may fall if transmission or brake components are released.
When Should the Timing Belt Be Replaced?
The timing belt should be replaced when inspection reveals damage that may affect safe and reliable operation.
Replacement is normally recommended when there is:
- Cracking across the belt surface
- Missing, damaged or severely worn teeth
- Exposed reinforcement cords
- Severe edge fraying
- Permanent elongation that cannot be corrected
- Repeated tooth jumping
- Chemical or oil damage
- Unstable positioning caused by belt wear
- Damage following a collision or overload
When replacing the belt, inspect the drive pulley, idler pulley, bearings and tensioning mechanism at the same time. Installing a new belt on damaged or misaligned pulleys may cause rapid belt wear.
Common Timing Belt Module Maintenance Mistakes
Applying Grease to the Timing Belt
The belt transmission is generally designed to operate dry. Grease may attract contamination and interfere with belt-to-pulley engagement.
Overtightening the Belt
Higher belt tension does not always improve accuracy. Excessive tension increases load on the motor shaft, pulley bearings and belt reinforcement cords.
Ignoring Small Edge Wear
Repeated belt edge wear usually indicates a pulley alignment or tracking problem. Replacing the belt without correcting the cause may result in the same damage.
Using High-Pressure Air for Cleaning
High-pressure air may push debris into guide blocks, bearings and internal channels. Use controlled cleaning methods instead.
Lubricating Without Cleaning
Applying new grease over contaminated surfaces may carry abrasive particles into the guide blocks. Clean the exposed rail surfaces before lubrication.
Replacing Components Without Checking Alignment
After replacing the belt, pulley, motor or guide component, verify belt tracking, carriage alignment and positioning repeatability before full-speed operation.
Timing Belt Linear Module Maintenance Checklist
- Is the carriage moving smoothly through the full stroke?
- Is there any abnormal noise or vibration?
- Is the timing belt free from cracks, fraying and tooth damage?
- Is the belt tension within the specified range?
- Does the belt remain centered on the pulleys?
- Are the pulley teeth clean and undamaged?
- Do the pulley bearings rotate smoothly?
- Are the guide rails clean and properly lubricated?
- Are all mounting bolts and locking screws secure?
- Are the origin and limit sensors working correctly?
- Are the sensor cables and motor cables undamaged?
- Does the cable carrier move freely?
- Is the motor temperature and current normal?
- Has positioning repeatability remained stable?
- Have all maintenance actions been recorded?
Maintenance Records and Condition Monitoring
Maintenance records help technicians identify gradual changes in module condition. Each inspection should record the date, operating hours, belt condition, tension measurement, lubrication work, positioning results and replaced components.
Useful condition-monitoring data may include:
- Motor current or torque trend
- Positioning repeatability
- Operating noise level
- Vibration level
- Bearing temperature
- Belt tension value
- Maintenance and replacement dates
A gradual increase in motor torque or vibration may reveal mechanical resistance before a visible failure occurs.
Frequently Asked Questions
How often should a timing belt linear module be inspected?
A basic visual and operational inspection should be performed daily or before each production shift. Belt tension, pulley condition and fasteners should normally be checked monthly, while complete maintenance should be scheduled according to operating hours and environmental conditions.
Does a timing belt linear module require lubrication?
The timing belt itself normally does not require lubrication. However, the linear guide blocks, bearings and other rolling components may require periodic grease or oil according to the module manufacturer’s instructions.
How do I know whether the timing belt is too loose?
Common signs include belt vibration, visible sag, impact noise during direction changes, delayed carriage response, reduced repeatability and tooth jumping under acceleration or heavy load.
Can excessive belt tension damage the module?
Yes. Excessive tension can overload the motor shaft, pulley bearings and belt cords. It may increase noise, motor current, bearing temperature and premature component wear.
Should the timing belt be replaced after a collision?
The belt should be inspected immediately after a collision or overload. Replacement may be required if there are damaged teeth, cracks, exposed cords, permanent deformation or unstable positioning.
Why does the timing belt move toward one side of the pulley?
Side tracking is commonly caused by pulley misalignment, shaft misalignment, uneven tension adjustment, a damaged pulley or incorrect belt installation.
Can I clean the module with compressed air?
Low-pressure dry air may be used carefully for loose dust, but high-pressure air should not be directed into guide blocks, bearings, seals or internal belt channels.
Conclusion
Effectivetiming belt linear module maintenancecombines daily observation with scheduled inspection of the belt, pulleys, guide rails, lubrication points, fasteners, sensors and cable management system.
The most important maintenance practices are keeping the module clean, maintaining correct belt tension, preventing lubricant contamination of the belt, checking pulley alignment and recording changes in noise, vibration, motor load and positioning accuracy.
By following a preventive maintenance schedule and correcting minor problems early, manufacturers can reduce unexpected downtime, maintain stable linear motion and extend the service life of the complete timing belt actuator system.